Guide to Secure and Automate Your Raspberry Pi Backups
Welcome to our guide on understanding the art of remote backups for your Raspberry Pi! In today’s digital time, safeguarding your data is more vital than ever. Whether it’s your personal plans, work data, or valuable memories, losing them can be terrifying.
That’s where the importance of backing up your data comes into performance, and this guides efforts to make that process as unified as possible. Regarding Raspberry Pi, a dense yet powerful tool for learners and enthusiasts, confirming your data is safe means you can experiment, create, and innovate without the fear of data loss.
Our guide will take you through How to Backup Raspberry Pi Remotely? specifically custom-made for Raspberry Pi, ensuring your projects are safe, secure, and recoverable, no matter where you are in your Raspberry Pi journey.
Get ready to authorize your Raspberry Pi journey with the sureness that comes from top-class data security practices!
Preparation Steps: How to Backup Raspberry Pi Remotely
The initial step towards securing your Raspberry Pi data through remote Backup is centred on preparation.
This phase is foundational, setting the stage for a successful backup process. Firstly, ensuring that your Raspberry Pi is connected to the network is non-negotiable.
This connectivity is the backbone of remote access and transfer of data. Without it, the concept of ‘remote’ in remote Backup becomes unattainable.
Update Raspberry Pi’s software packages
Next, updating your Raspberry Pi’s software packages is a step that cannot be overstated. This practice is not just about having the latest features; it’s about security.
Updated software packages mean vulnerabilities are patched, making your system more secure against potential threats—an essential consideration when dealing with data backups.
Install necessary backup tools
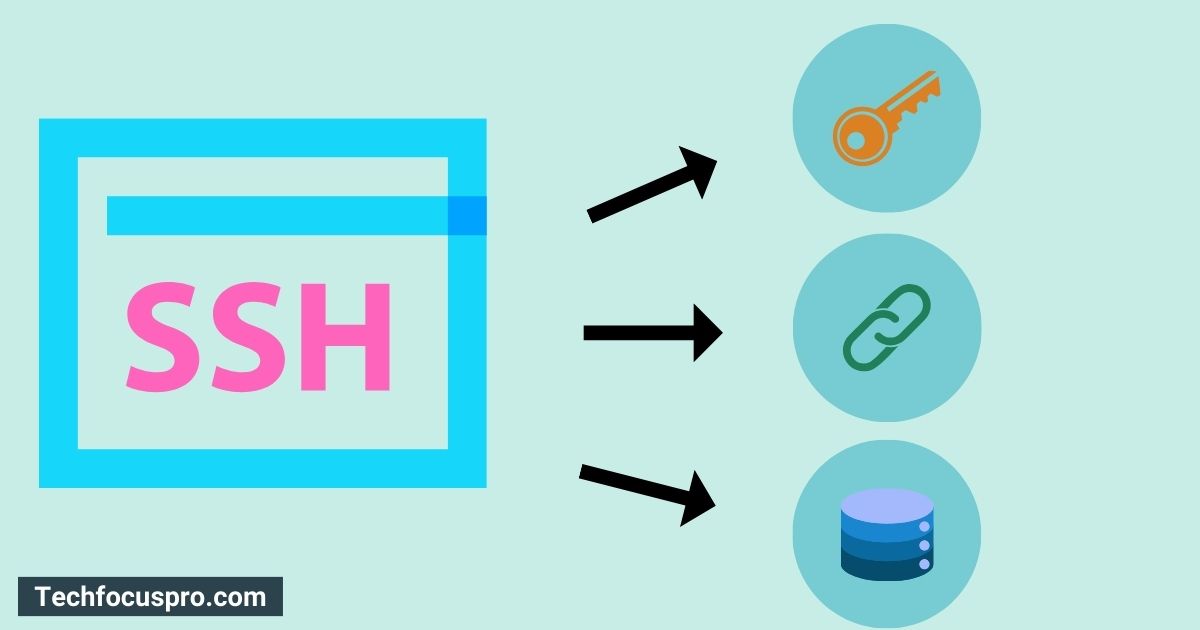
Finally, installing necessary backup tools like rsync and SSH is akin to arming yourself with the right tools for the job. Rsync offers a fast, versatile, and reliable method of remotely synchronizing your files, ensuring that only the changes made are transferred, saving time and bandwidth.
SSH, however, secures your data transfer, encrypting it so that your information remains confidential and safe from prying eyes.
Together, these tools form a powerful duo in your backup arsenal, ensuring that your Raspberry Pi’s data is backed up and secured during the process.
How to Backup Raspberry Pi by SSH
Enable SSH via Raspberry Pi Configuration or `raspi-config`
Before we start zipping files through the digital cosmos, we’ve got to switch on the SSH (Secure Shell) on your Raspberry Pi. SSH is a secure pipe between your Raspberry Pi and another device.
It’s turned off by default—like a superhero in disguise waiting to be awakened. To enable it, you can use the Raspberry Pi Configuration tool through the desktop interface (a few clicks and you’re set) or tap into the command line with `raspi-config` for a more ‘hacker’ feel.
This step is our gateway to remote connectivity, ensuring our backup adventure is efficient and locked down tighter than Fort Knox.
Generate SSH keys for passwordless login
Now, onto the nifty trick of passwordless logins! Typing passwords every time can be a drag. Plus, in the realm of automated backups, we’re aiming for smooth and seamless backups.
By generating SSH keys, we create a super secure handshake between your Raspberry Pi and the device you’re backing up to. It’s like having a VIP pass to your own data party—no need to knock or verify your identity each time.
Running a simple command generates these keys, and after copying the public key to your backup destination, you’re set for a hassle-free, passwordless future. It’s security and convenience wrapped up in one neat package.
Configure the Backup Destination is Crucial
Once you’ve got your Raspberry Pi ready and SSH keys in hand, the next step is to nail down where exactly you’re sending your precious data. This could be another computer in your home, a Network Attached Storage (NAS) device or even a cloud service provider—the choice depends on your preferences and what you have available.
Whichever destination you choose, the critical part is ensuring it’s prepped for receiving data. This means setting up the necessary access and security measures, such as configuring SSH keys if you’re targeting another Linux server or setting up API keys for cloud services.
These steps are pivotal to ensure that your Backup reaches its destination and remains secure from unauthorized access.
Create a Backup Script
Creating a backup script for your Raspberry Pi remotely involves several vital steps that streamline the process, ensuring your data is regularly and reliably backed up without manual intervention. Now, onto the genius move that ties all our prep work together—creating a backup script.
Imagine having a loyal assistant who diligently copies and secures your data at intervals you decide, without you having to lift a finger. That’s what writing a bash script for automated backups can offer. With our trusty tools, `rsync` and `cron`, this step transforms from a tech chore to a tech charm.
By leveraging `rsync`, we harness the power of efficient file transfer, ensuring that only the changes since the last Backup are transferred, thus saving valuable time and bandwidth.
But why stop there? By incorporating commands for incremental backups into our script, we further maximize efficiency, keeping our backups lean and mean.
Lastly, scheduling these backups is a breeze with `cron` jobs. Like setting an alarm for your data, `cron` ensures that your backup script runs at regular intervals, be it daily, weekly, or at any custom frequency you desire.
This automation secures your data and affords you peace of mind, knowing your Raspberry Pi’s treasures are regularly backed up, safe and sound.
Automate Your Backups Process
Now that you’ve mastered the setup, it’s time to bring in the big guns—automation. Setting up a `cron` job ensures your Raspberry Pi data is backed up regularly without a manual prompt. It’s like having a dependable robot do the work for you, on schedule, every time.
But wait, there’s more! By configuring email notifications, you’re always in the loop. Whether it’s a high-five for backup success or a heads-up for backup failures, you’re always confident about your data’s safety. Together, these features form your backup safety net, letting you sleep easy and focus on what matters most.
Restore data from Backup
Bringing back data from the abyss might sound like a daunting task, but with our systematic approach, it’s more akin to retracing your steps in a well-lit corridor. When restoring data from your Backup, start by connecting securely to your backup destination.
This could mean logging into your NAS device, accessing your cloud storage, or SSHing into another computer. Once in, use `rsync` in reverse to pull the needed data back onto your Raspberry Pi. This step is crucial, offering a mirror image of your data’s last known exemplary configuration.
Post-retrieval, it’s not just about having the data back where it belongs; it’s about ensuring it’s the data you expect and depend on. Verifying data integrity is the final, non-negotiable step in the restoration process. Run checksum comparisons or employ file integrity tools available in most Linux distributions.
This process acts as your quality control, affirming that the restored data is accurate and untampered, thereby completing the circle of a reliable backup and restore strategy. Remember, a backup’s true worth is proven only in a flawless restoration.
Best Practices and Tips for Backup
In data backup and security, following recognized Best Practices is not just advisable; it’s imperative. Here are some priceless tips to ensure your backup strategy is robust and guaranteed:
Regularly Test Backup and Restoration Processes:
Setting up backups and periodically testing them is vital. This confirms that when the need for a restoration ascends, you can proceed confidently, knowing your data will be accurately restored.
Encrypt Sensitive Data During Transfer and Storage:
Security is supreme, mainly when it involves sensitive information. Encoding your data both during its transfer and while it’s stored can safeguard against illegal access, ensuring that your backups remain a stronghold of privacy.
Keep Multiple Generations of Backups:
To guard against data dishonesty or accidental deletion over time, it’s wise to maintain several generations of backups. This allows you to return to a specific point in time, providing flexibility and peace of mind in your data recovery strategy.
By weaving these practices into your backup routine, you’re not just caring for data; you’re stimulating your peace of mind, ensuring that your digital resources remain safe, secure, and always within reach.
Final Thoughts
In conclusion, learning the art of remote backups for your Raspberry Pi isn’t just about stopping data loss; it’s an authorizing ritual that ensures your digital world remains complete, no matter what life throws its way. By connecting the power of `rsync`, `cron`, and planned encryption, you’re not only securing your data—you’re requesting peace of mind in a random digital landscape. Let this guide be your inspiration, guiding you towards a future where data honesty and security are not just ideals, but realisms. Cheers to a well-backed up life, where your digital resources are always safe, sound, and just a restore away.